When planning an interior renovation, the order of the work is not a matter of preference, it is a matter of physics. Professional gypsum works always come first, because the frame and boards create the base surface that every later layer depends on. Change that order, even slightly, and you raise the risk of cracking, poor paint adhesion, and wasted material from repeat repairs.
In this guide, we walk through every phase of interior construction step by step, from gypsum installation to final painting, with real drying times, price ranges, and the mistakes we see most often on projects in Tirana and Durres.
This sequence applies whether you are finishing a single bedroom, a full apartment renovation, or a commercial fit-out, and it holds regardless of which room you start in. The scale of the project changes the schedule, not the order of the phases themselves, so the same logic below applies to a 15 square metre bathroom and a 150 square metre house.
Why does the order of gypsum, plastering and painting matter?
The order matters because each phase creates the physical base for the next one. Gypsum forms the structure and first surface, plastering smooths that surface by filling pores and imperfections, and painting seals and protects everything. Change the sequence, and the top layer has no stable base, so it cracks, detaches, or absorbs paint unevenly.
This is why experienced crews rarely negotiate the gypsum, plastering, painting sequence, even under a tight deadline. A skipped or rushed step usually shows up as a visible defect months later, not immediately, which makes the eventual repair more expensive.
Phase 1: gypsum installation (framing, boards, joints)
The first phase covers building the metal or wood frame, fixing the gypsum boards, and filling the joints between boards with a filler known as joint compound. Standard boards, also called drywall, consist of a gypsum core wrapped in paper and are the main choice for suspended ceilings, partitions and decorative wall cladding.
We work mainly with Knauf and Rigips boards, two of the best known European gypsum systems, which give a stable, flat surface ready for the next phases. For a suspended ceiling in an average room, installation usually takes 3 to 6 working days, while new partitions or multi-level designs take proportionally longer.
Once the boards are fixed, joints are filled and reinforced with paper tape or mesh, and this layer needs about 24 hours to dry before plastering can start. If you are working on a living room with a more complex design, our guide on gypsum works for living rooms shows concrete examples, including how multi-level ceilings are coordinated with later finishing phases.
Electrical and plumbing work should be planned and roughed in before the boards close the frame, since running new cable or pipe through a finished gypsum wall means cutting it open again. Any recessed lighting, speaker points, or ventilation ducts need to be marked and installed at this stage, not added later.
Phase 2: drying time after gypsum work (about 24 hours)
This phase is often skipped by inexperienced crews, but it matters as much as the installation itself. The joint filler needs to dry fully, usually within 24 hours under normal room conditions (20-25 degrees Celsius, humidity under 60%). If plastering starts over joints that are still damp, moisture stays trapped under the layers above and later shows up as a thin crack along the joint line.
In rooms with higher humidity or temperatures below 15 degrees, drying time can extend to 36-48 hours. We always recommend checking the joint by touch and sight before continuing, rather than relying only on the calendar.
Phase 3: wall plastering and surface smoothing
Plastering is the phase that turns an imperfect gypsum or masonry surface into a smooth base ready for paint. Professional wall plastering usually involves 2 to 3 thin coats, each about 2-3 millimetres thick, applied one after another.
Each plastering coat needs 4 to 8 hours to dry before the next coat or the final sanding can begin. Plastering in Albania typically costs 800 to 2000 Lek per square metre, depending on the initial condition of the wall and the number of coats needed. Walls with existing cracks or dampness require extra preparation and raise the cost.
Phase 4: drying time after plastering (24 to 48 hours)
After the final plaster coat, the wall needs 24 to 48 hours of full drying before painting can start, depending on total thickness, humidity, and room ventilation. In apartments with limited ventilation, or during winter, this period can extend even further.
The practical check is simple: if the wall still feels cool or fresh to the touch, or if the plastered area still looks slightly darker than the rest of the wall, moisture has not fully evaporated. Painting over such a surface traps that moisture and causes bubbling or uneven whitening within a few weeks.
Phase 5: painting, the final finishing phase
Once the wall is fully dry and smooth, quality painting can begin. The standard process includes one primer coat and 2 finish coats, with 2 to 4 hours of drying between coats, depending on the paint type and room temperature.
We work with internationally known brands such as Dulux, Jotun and Caparol, which offer good coverage and long-term resistance to stains and moisture. Interior painting typically costs 500 to 1500 Lek per square metre, depending on paint quality and the number of coats needed. If your walls have old stains, paint drips or uneven surfaces, the concrete preparation steps are covered in how to prepare walls for painting, a guide that connects directly to this phase.
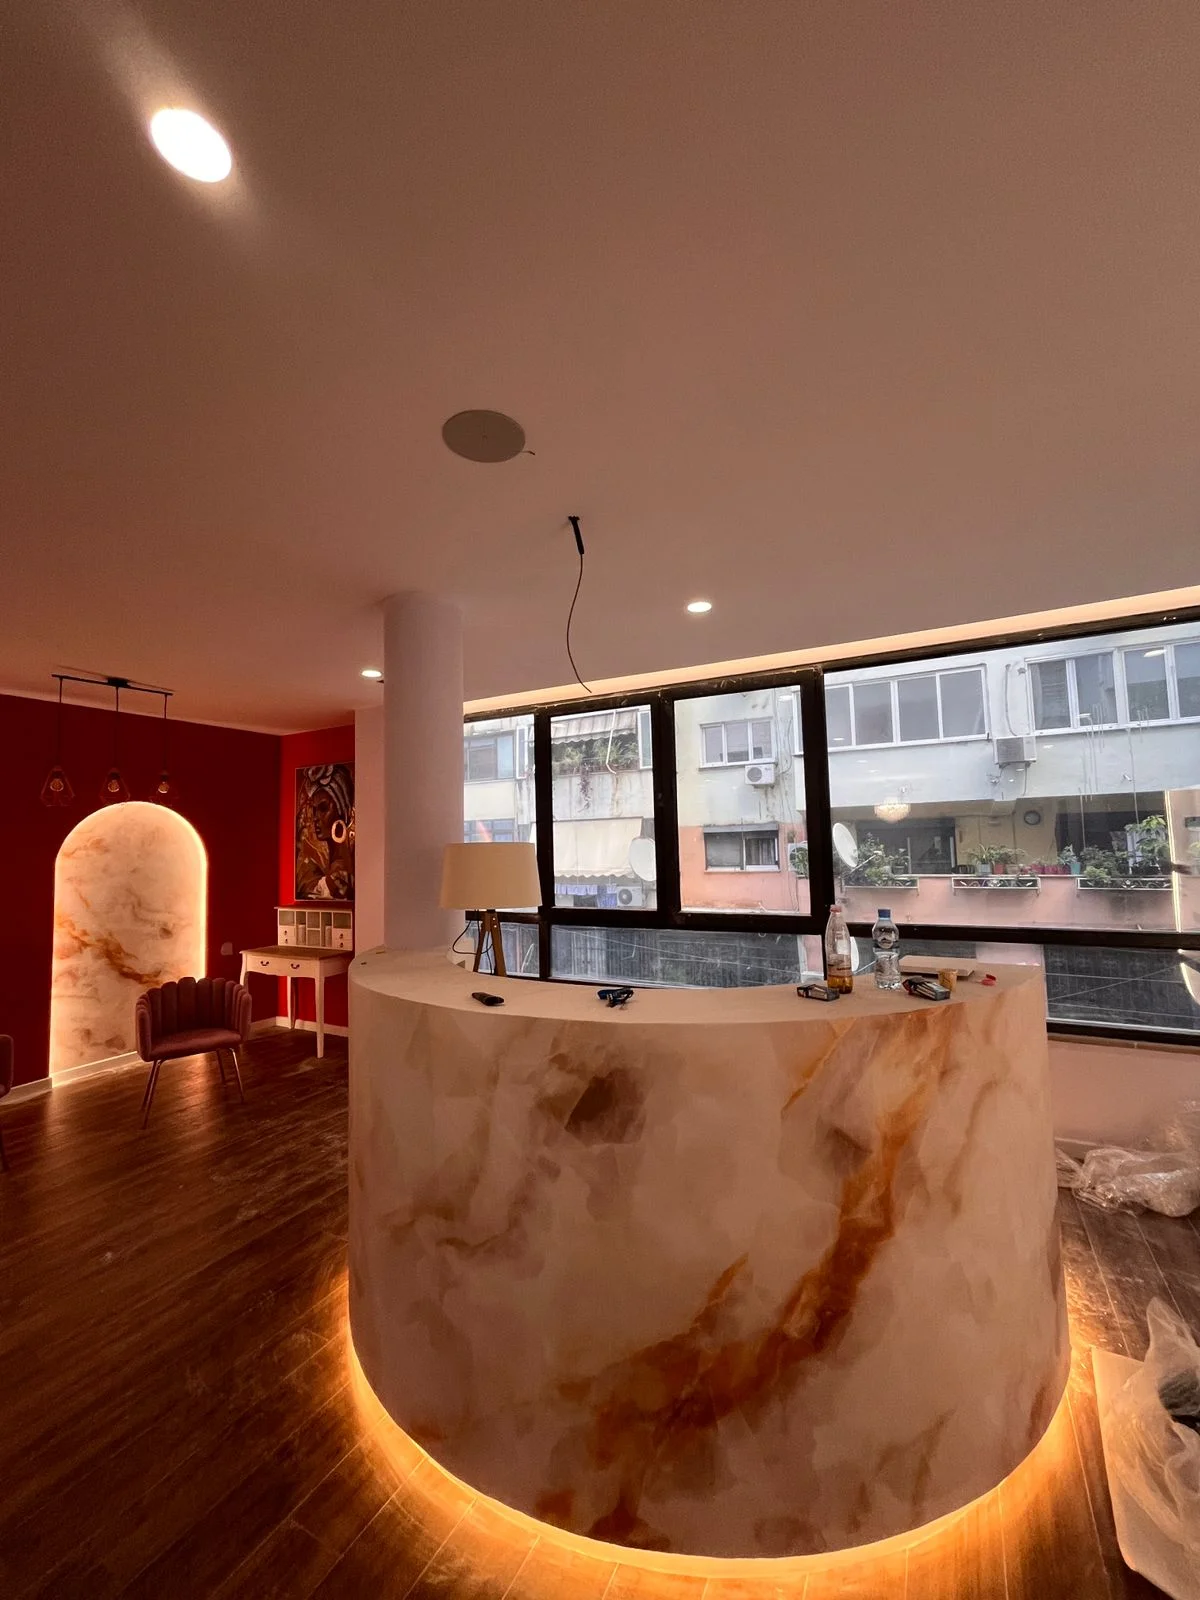 The final result of the gypsum, plastering, painting sequence: a smooth, even surface
Phase 6: final inspection and handover
The last phase is a detailed inspection of every surface under natural and artificial light, to catch spots that need touch ups, imperfect corners, small stains, or slight colour differences. This inspection usually happens about 24 hours after the last paint coat, once the colour has settled into its final tone.
Handover also includes cleaning the space of dust and leftover material, along with a short maintenance note, such as the minimum time to wait before hanging frames or heavy furniture near freshly painted walls.
How much does the full gypsum, plastering, painting sequence cost?
Total cost depends on surface area, design complexity, and the starting condition of the walls, but the table below gives orientation values for each phase:
| Phase | Price range (Lek/m²) | Drying time | |---|---|---| | Gypsum works | 1500 - 3500 | ~24 hours after joints | | Wall plastering | 800 - 2000 | 4-8 hours/coat, 24-48 hours final cure | | Painting | 500 - 1500 | 2-4 hours between coats |
For a 20 square metre room with all three phases, the orientation cost of materials and labour can vary widely depending on design complexity. For an accurate quote for your project, see our pricing page or request a free assessment.
How long does the whole process take for a typical apartment?
For a 70 to 90 square metre apartment, with gypsum work on ceilings and main partitions, full wall plastering, and two coats of paint throughout, the total process usually takes 1 to 3 weeks. This includes the drying periods between phases, not just active work time.
Projects with multi-level gypsum ceilings, new partitions, or complex decorative designs run toward the upper end of this range. Simpler jobs, such as plastering and painting existing walls with no structural changes, can finish within 1 week for an average apartment.
What are the most common mistakes when the order is changed?
The most frequent mistake is painting over plaster that is still damp, which causes bubbling and whitening within the first few weeks. The second is starting plastering over gypsum joints that have not fully dried, which leads to thin cracks along the board lines after a few months.
A third, less visible mistake is skipping the final inspection under natural light: small defects that are not visible during the work become noticeable later and require extra touch ups, raising total project cost and extending the handover date.
Why choose Torra Gips for your interior construction phases?
With experience on more than 100 projects in Tirana and Durres, our team manages all three phases, gypsum, plastering and painting, as one coordinated sequence, not as separate subcontracted jobs. This removes the communication gaps that usually cause delays and defects when phases are split between different crews.
We use Knauf and Rigips boards and profiles for gypsum work, and Dulux, Jotun and Caparol paints for the finish, materials that have proven their durability on commercial projects such as Vlora International Airport and Green Coast Resort. If you are still choosing the right team for your project, read our guide on how to choose the right contractor before you start.
Booking all three phases with one contractor also means a single point of accountability if something goes wrong between phases, rather than three separate crews pointing at each other over a cracked wall or a paint defect.
Related reading
- How to prepare walls for painting for concrete surface preparation steps
- Gypsum works for living rooms for design ideas in the first phase
- How to choose the right contractor before you start the project
If you want a free assessment for your project, planned exactly around these three phases, message us on WhatsApp at +355 68 858 0058 or contact us today. We visit your space, measure the surfaces, and give you a work plan with realistic timelines for each phase.